How to install testNG in eclipse
Step 1:
Open Eclipse by clicking on the eclipse launch icon
Step 2:
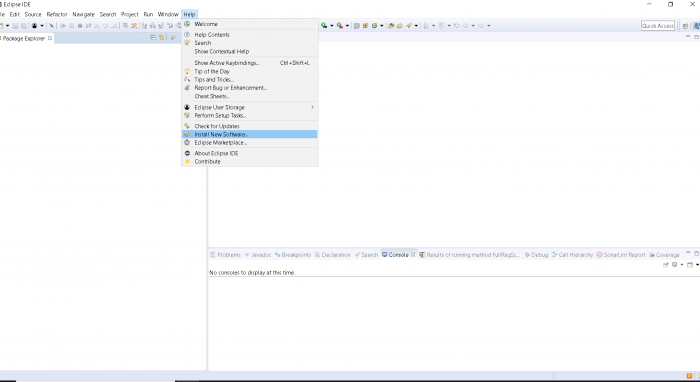
Click on Help-> Install New Software
Step 3:
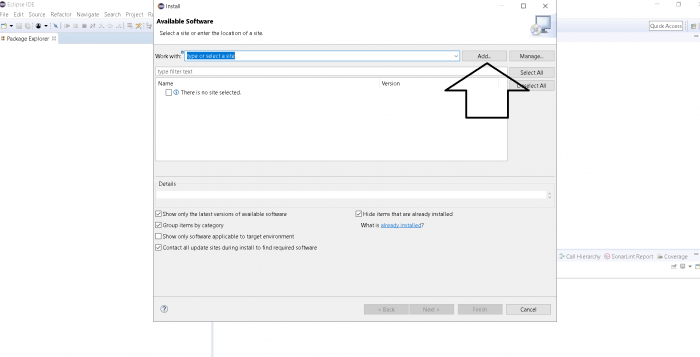
Click on Add button
Step 4:
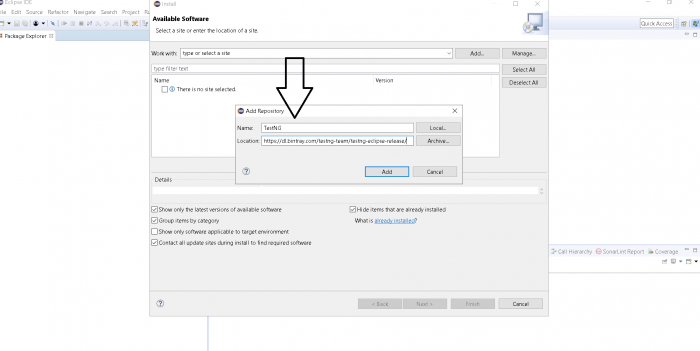
Type TestNG in the name field and Type https://testng.org/testng-eclipse-update-site in URL field.
Once Feilds are filled click on Add button
Step 5:
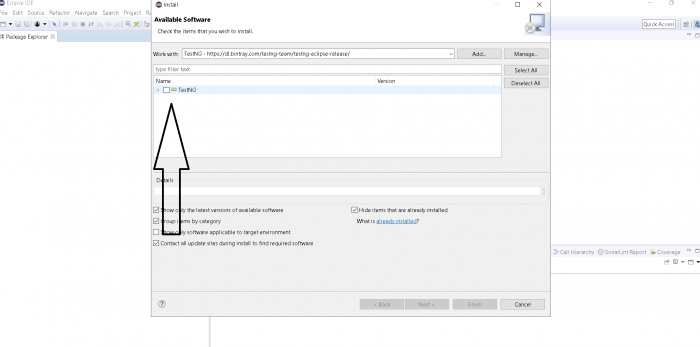
Now wait for TestNG Libraries to appear, don’t do anything until icon is available-
Step 6:
Now click on checkbox and then click on next-
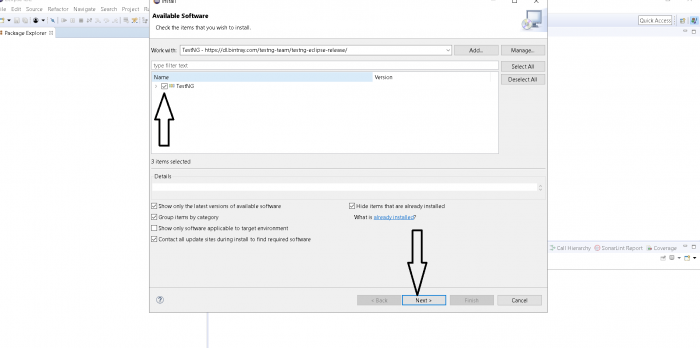
Step 7:
Wait for the installation to finish:
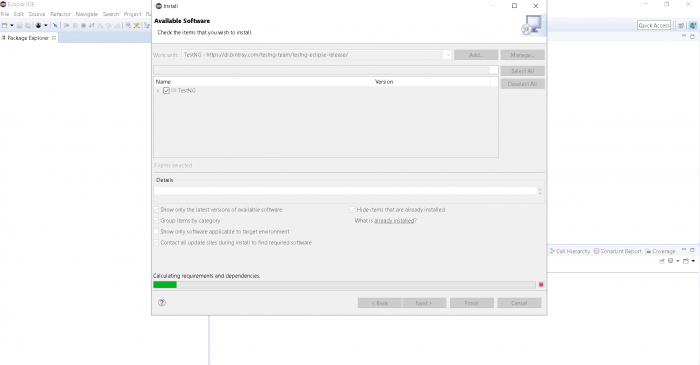
Step 8:
On below screen, Click on next button again-
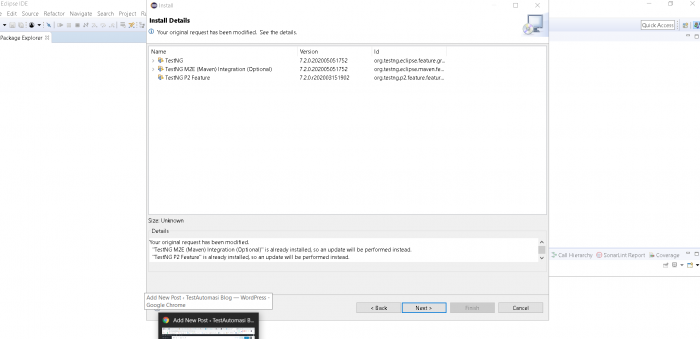
Step 9:
Now Click on “I accept the terms” radio button, then Click on Finish
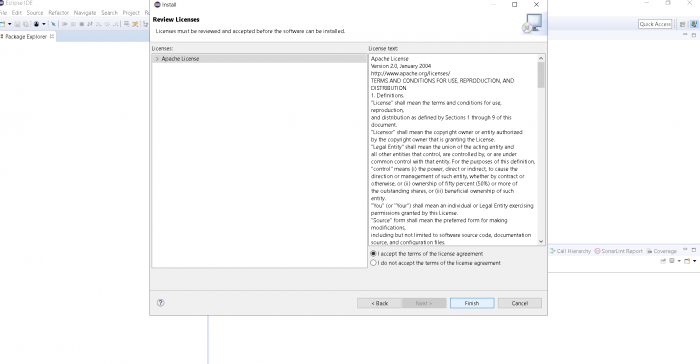
Step 10:
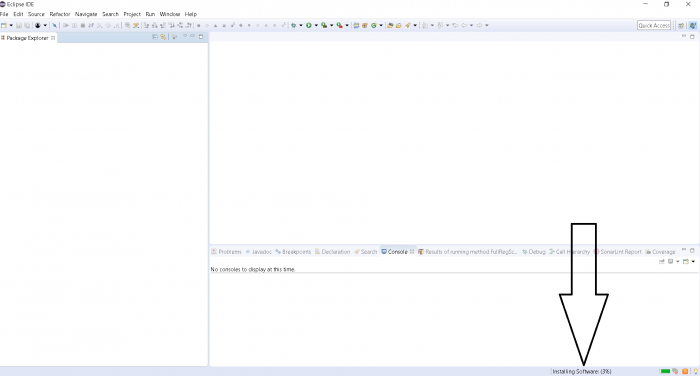
Now wait for the installation to finish till 100%
Step 11:
If you encounter a Security warning, just click “Install Anyway”.

Step 12:
Wait for the installation to finish. When Eclipse prompts you for a restart, click “Restart now.”

After the restart,TestNG will be successfully installed in your eclipse